

Key Takeaways
Why Uneven Coverage Happens in the First Place
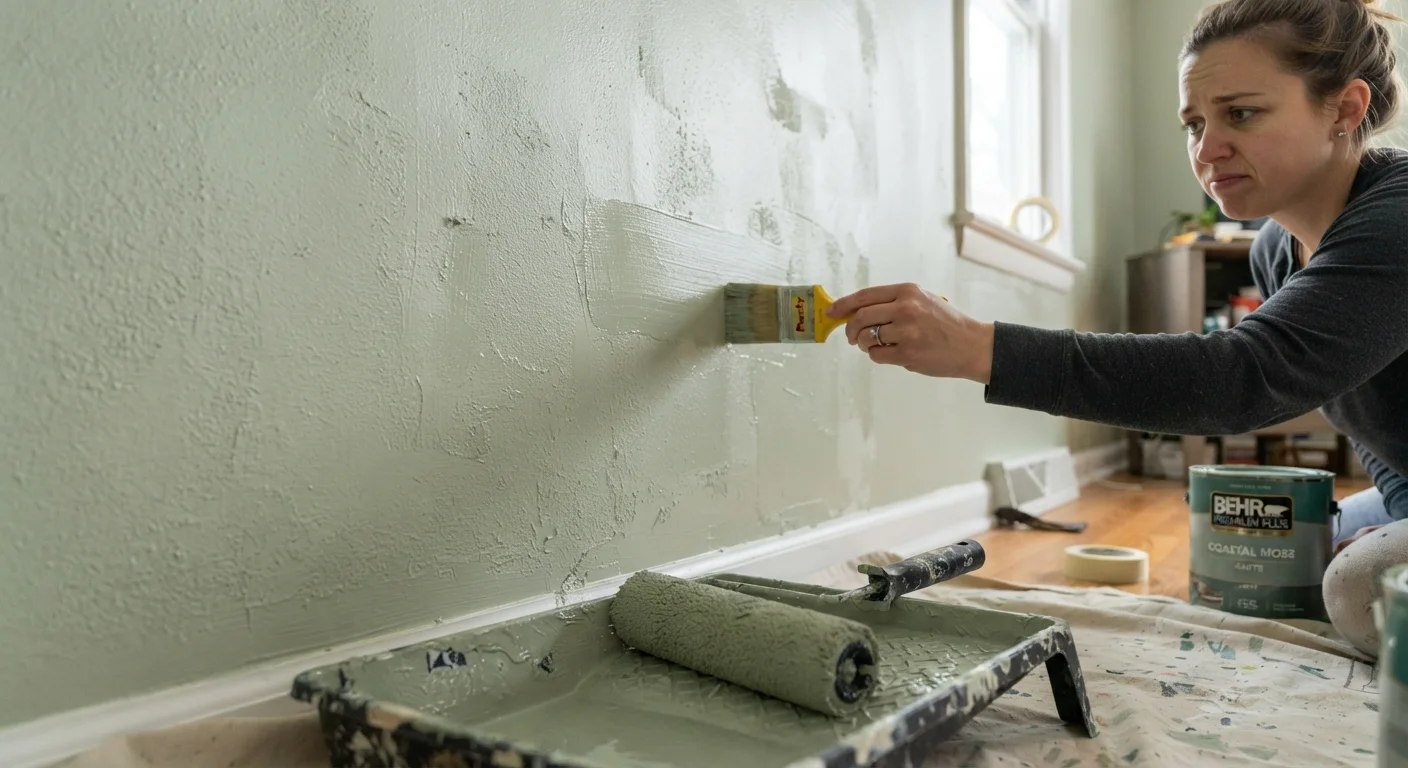
Patchy walls after painting are rarely the fault of the paint itself. In almost every case, uneven coverage traces back to preparation, technique, or timing. Understanding what's actually happening at the surface level helps you troubleshoot the result and avoid repeating it.
Paint bonds to surfaces differently depending on texture, porosity, and what's already there. A freshly patched spot absorbs paint much faster than surrounding drywall, leaving a dull, sunken-looking area. A dusty or slightly greasy wall repels paint just enough to leave thin, translucent streaks. These aren't random - they're predictable, and they're fixable once you know what to look for.
If your walls have any repaired areas, read our guide to drywall patching before painting - proper patch prep is essential to even results.
Skipping primer before painting over bare or patched surfaces.
Why it happens: Many beginners assume paint-and-primer-in-one products eliminate the need for a dedicated primer coat, or they want to save time and skip straight to the color.
Painting over a dirty or improperly prepared wall surface.
Why it happens: Walls look clean to the naked eye, but grease near cooking areas, dust along baseboards, and residue from old cleaning products create invisible barriers that cause paint to bead or sit unevenly.
Applying paint too thickly in a single coat to avoid doing two.
Why it happens: It feels efficient to pile on more paint at once, and first-timers often worry about coverage and compensate by loading too much onto the brush or roller.
Letting the painted edge dry before connecting it to the next section.
Why it happens: Stopping to reload a roller or brush, answering the phone, or working too slowly allows the edge of a painted area to become tacky before it's overlapped.
Using a worn-out or wrong-nap roller for the wall texture.
Why it happens: Rollers from a previous project get reused without checking nap condition, or beginners grab whatever is available without matching nap thickness to surface texture.
Painting in poor lighting and missing thin or missed spots until the paint dries.
Why it happens: Overhead lighting in most rooms casts flat, even light that hides thin spots and streaks while the paint is wet. Problems only become visible once the sheen dries.
Techniques That Deliver Consistent, Even Coverage
Once you've addressed the common mistakes, a handful of reliable techniques will carry you across the finish line.
2×
Coverage improvement with proper priming
Paint manufacturers' coverage estimates typically assume a primed, properly prepared surface - unprimed porous surfaces can require twice the paint to achieve the same opacity.
30-60 min
Typical recoat window for latex paint
Most water-based latex paints recommend waiting 30 to 60 minutes between coats under normal temperature and humidity conditions, though labels vary - always check yours.
Load Your Roller Correctly
Roll the roller back and forth in the tray's ridged section until the nap is evenly saturated but not dripping. Too much paint causes runs; too little means you're dragging a dry roller across wet paint, lifting it back off.
Work in a "W" or "M" Pattern
Start each new roller section by making a W or M shape roughly 3 feet wide, then fill it in with overlapping passes without lifting the roller. This distributes paint more evenly than straight vertical stripes.
Keep a Wet Edge
Move quickly enough that each new stroke overlaps the previous section before it dries. This prevents lap marks - the most visible sign of uneven coverage - by blending wet paint into wet paint rather than wet into dry.
Plan for Two Coats
One heavy coat is almost never better than two thinner ones. Allow the first coat to dry fully according to label guidance - reading your paint can label will tell you exactly how long to wait - then apply the second coat using the same technique. The second pass fills any gaps the first missed and evens out sheen variation.
Don't Rush the Recoat Time
Applying a second coat before the first has fully dried is one of the most reliable ways to create streaks, peel, or tacky spots that never fully cure. Even if the surface feels dry to the touch, the paint film beneath may still be soft. Follow the recoat time listed on your specific paint label - not a general rule - since dry time varies by sheen, formula, and environmental conditions.
Sheen choice also plays a role: higher-gloss finishes reveal surface imperfections more dramatically. Our room-by-room finish guide explains which sheen is most forgiving in each space.