

Key Takeaways
Drywall Patching
Drywall patching is the process of repairing damaged sections of drywall - the prefabricated panels of gypsum plaster used to form interior walls and ceilings in most US homes. Common damage includes nail holes, small dents, cracks, and larger punctures. The repair typically involves filling, reinforcing, and resurfacing the damaged area so it blends seamlessly with the surrounding wall.
Drywall is also called gypsum board or by the brand name Sheetrock. The outer paper facing provides tensile strength, so repairs that reinforce the paper layer tend to hold better long-term.
Why Drywall Gets Damaged - And Why It's Worth Fixing
Interior drywall takes a surprising amount of daily abuse: doorknobs swing into walls, furniture shifts, picture hooks get moved, and minor settling causes hairline cracks. In most cases, these aren't structural problems - they're cosmetic issues that affect how a room looks and, in some cases, how well it holds up to moisture or temperature changes.
Leaving small holes or cracks unaddressed can allow moisture to enter the wall cavity over time, potentially worsening the damage. More practically, visible damage makes a room feel unkempt and can complicate home sales or rental inspections. The good news: most common drywall damage falls squarely within the range of what a careful beginner can fix on a weekend afternoon. Understanding which method applies to which type of damage is the key first step.
Matching the Method to the Damage
Drywall repairs aren't one-size-fits-all. The right approach depends almost entirely on the size and nature of the damage.
Small Holes and Nail Pops (Under 1 Inch)
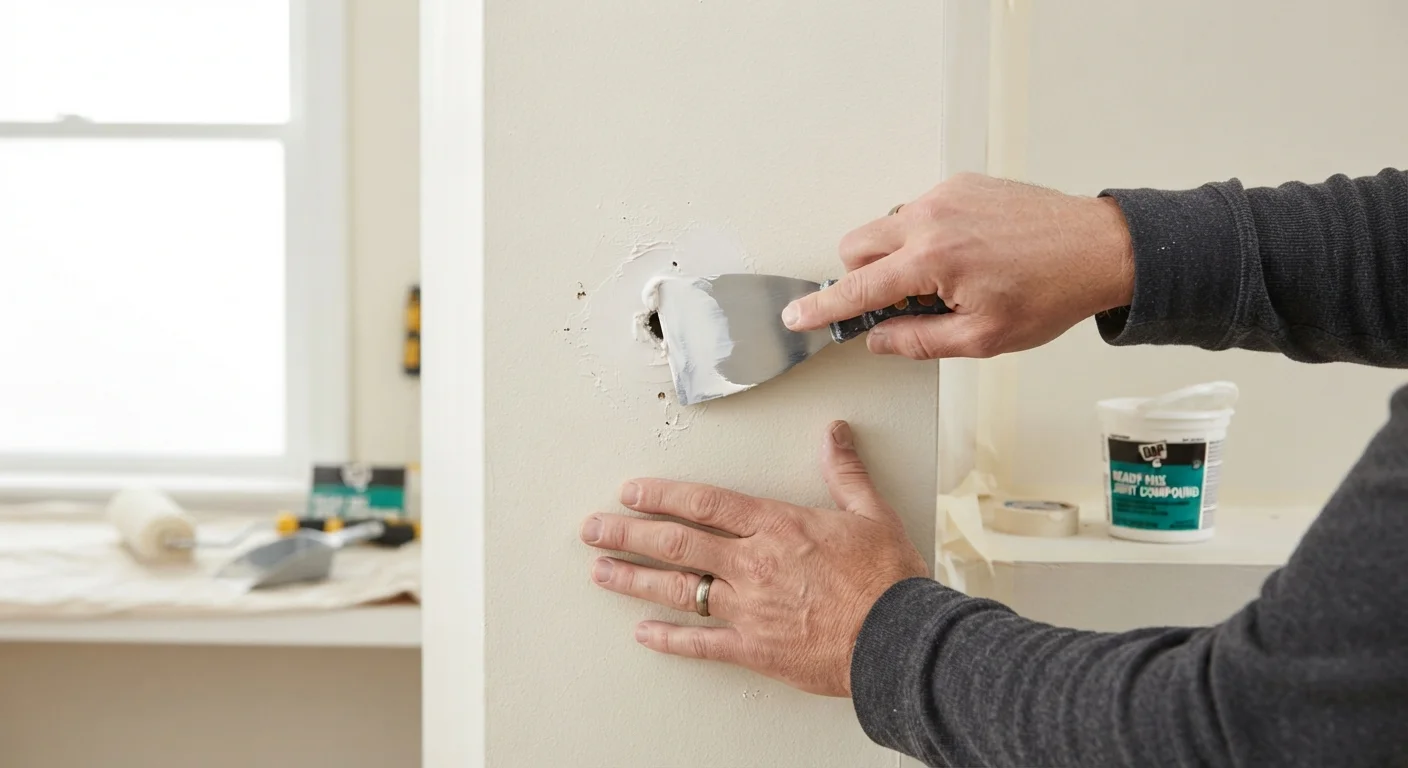
Nail holes, small dents, and popped screws are the most common repairs beginners face. A lightweight spackling compound - sold pre-mixed in small containers - is all you need. Apply a small amount with a putty knife, let it dry, sand smooth with 120-grit sandpaper, and prime before painting. For a nail pop (a screw or nail pushing through the wall surface), drive the fastener back in slightly below the surface first, then fill over it.
Medium Holes (1-6 Inches)
Holes from doorknobs, accidental impacts, or removed wall anchors fall in this range. These need structural support before compound can be applied. Self-adhesive fiberglass mesh patches - available as pre-cut squares at most hardware stores - are ideal here. Peel and stick the patch over the hole, then apply two to three feathered coats of all-purpose joint compound over it. Sand lightly between each coat once fully dry.
Large Holes (6 Inches and Up)
Larger damage requires cutting out the irregular hole and replacing it with a new piece of drywall. This involves securing backer boards (thin strips of wood fastened inside the wall cavity) to anchor the new piece, then taping the seams with paper or mesh drywall tape and finishing with joint compound. This is manageable for a motivated beginner but takes more time and patience. If the damaged area spans a stud bay or borders electrical components, getting a professional assessment first is a reasonable precaution.
Apply Compound in Thin Layers
Resist the temptation to fill a hole in one thick coat. Joint compound shrinks as moisture evaporates during drying, and a thick single coat will crack or pull away from the edges. Two to three thin coats, each fully dried, produce a more durable and smoother result with far less sanding.
Tools and Materials You'll Actually Use
You don't need a large toolkit for basic patching. Here's what covers the majority of beginner repairs:
- Putty knife or drywall knife (4-6 inch blade): for applying and smoothing compound
- Pre-mixed lightweight spackling: ideal for small holes and surface imperfections
- All-purpose joint compound: better for multi-coat applications over mesh patches
- Self-adhesive mesh patch: sized to cover the hole with an inch of overlap on all sides
- 120- and 220-grit sandpaper: for smoothing between coats and final finishing
- Drywall or PVA primer: seals the patched area before paint
- Paint matching the existing wall color: the final step that makes the repair invisible
Getting the right compound matters. Lightweight spackling dries faster and sands more easily - great for small repairs. All-purpose joint compound is more versatile for larger patches but shrinks slightly as it dries, which is why multiple thin coats are essential. For context on how filling materials vary in other parts of your home, see our guide on grout vs. caulk in tile joints - the principle of matching material to application applies equally there.
Water Damage Is a Different Problem
If drywall damage is accompanied by staining, soft or crumbling texture, or any sign of mold, the underlying moisture source must be identified and resolved before patching. Patching over active moisture damage will cause the repair to fail and may allow mold to persist behind the wall. In these cases, consulting a professional before proceeding is the safest approach.
Finishing Well: The Steps Beginners Skip
The patch itself is only half the job. How you finish it determines whether the repair is visible or invisible.
- Sand between coats. Once each coat of compound is fully dry (judge by color, not time alone), sand lightly with 120-grit paper to knock down ridges before applying the next coat.
- Feather the edges. Each coat should extend slightly beyond the previous one - spread the compound outward in thin, tapering strokes. This blends the patch into the surrounding wall instead of creating a raised mound.
- Final sand with 220-grit. After the last coat is dry, a light pass with fine-grit paper produces a smooth surface ready for primer.
- Prime before painting. Skip this step and you'll likely see a dull spot - called flashing - in the finished paint. A single coat of drywall primer resolves this completely.
- Match your paint. Even a perfect patch looks obvious with the wrong paint color or sheen. If you don't have leftover paint, bring a chip from the wall to a paint store for matching.
If you're ever unsure whether a task is safely within your skill range, our guide on knowing which DIY jobs you can handle offers a useful framework for making that call - the same logic applies to home repairs as it does to vehicles.