

Key Takeaways
Option A
Grout
The rigid, structural filler for flat tile fields.
Best for: Filling joints between tiles on flat walls or floors where movement is minimal.
Option B
Caulk
The flexible, waterproof sealant for change-of-plane joints.
Best for: Sealing corners, edges, and any joint where two surfaces meet at an angle or flex.
Filling the joints between tiles on a shower floor or wall field
Grout
Flat tile fields don't flex significantly, so rigid grout fills and bonds those joints without cracking over time.
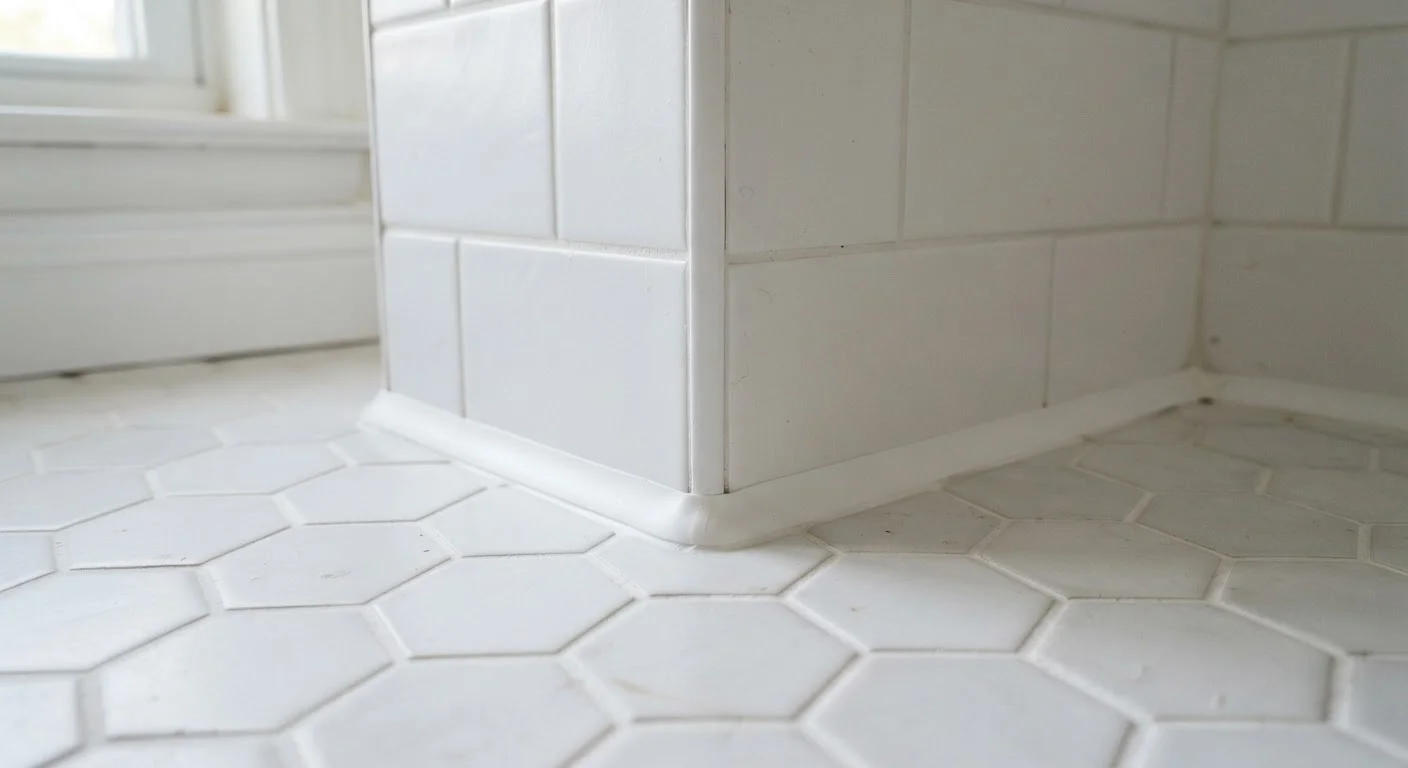
Sealing the corner where a shower wall meets the shower floor
Caulk
This change-of-plane joint moves slightly with temperature and humidity, and only flexible caulk can absorb that movement without splitting.
Finishing the joint where tile meets a bathtub deck or sink rim
Caulk
Tubs and sinks flex under weight and water load; caulk stretches with that movement while staying watertight.
Replacing a cracked line in the middle of a tiled wall
Grout
Mid-field joints between tiles are structurally stable, and grout matches surrounding lines for a uniform, durable repair.
Why Getting This Wrong Causes Real Damage
Walk into almost any older bathroom and you'll spot it: a cracked grey line running along the corner where the wall tiles meet the tub. That crack isn't a grouting failure - it's a material failure. Someone used grout where caulk was required, and the joint eventually gave way.
Tile joints aren't all the same. Some sit between tiles on a flat, stable surface. Others bridge two surfaces that move relative to each other - corners, edges where tile meets a fixture, or transitions between floor and wall. Using the wrong filler in either location leads to cracking, water infiltration, and eventually mold or substrate damage. Understanding which product goes where is one of the most practical skills a beginner DIYer can learn before touching a tile job.
For a look at similar beginner-friendly repair decisions, see our drywall patching guide, which walks through the same principle of choosing the right material for the right situation.
Grout and Caulk: What Each One Actually Is
Grout is a cement-based (or sometimes epoxy-based) compound that is mixed to a paste and packed into the joints between tiles. Once cured, it is hard and rigid. That rigidity is a feature - it locks tiles in place and resists foot traffic, cleaning, and normal wear. It is available in sanded and unsanded formulas: sanded grout contains fine sand particles that add body and are suited to joints wider than roughly 1/8 inch, while unsanded grout is smoother and better for narrower joints that could be scratched by sand.
Caulk is a flexible sealant - most often silicone or latex-based - that remains slightly pliable after curing. That flexibility is its defining property. Buildings expand and contract with temperature and humidity changes, and any joint at a corner or a surface transition experiences that movement. Caulk stretches and compresses without splitting, maintaining a waterproof seal even as the structure moves around it.
| Criterion | Grout | Caulk |
|---|---|---|
| Flexibility after curing | Rigid, hard | Flexible, slightly pliable |
| Primary use location | Between tiles on flat surfaces | Corners and change-of-plane joints |
| Waterproofing | Porous unless sealed | Inherently watertight when properly applied |
| Movement tolerance | None - cracks under movement | Absorbs expansion and contraction |
| Common formulas | Sanded, unsanded, epoxy | Silicone, latex/acrylic |
| Cleanup | Water before cure | Water (latex) or mineral spirits (silicone) |
| Lifespan in wet areas | Long if sealed and stable | 5-10 years before reapplication typical |
The Simple Rule for Placement
Industry standards from tile trade organizations put this plainly: grout goes between tiles; caulk goes at changes of plane. A change of plane is any spot where two surfaces meet at an angle - an inside corner, a spot where tile meets a countertop, or the joint where floor tile butts up against wall tile.
Here is a quick reference for common locations:
- Grout: Joints between wall tiles, joints between floor tiles, any flat mid-field joint.
- Caulk: Inside corners of showers and tub surrounds, the perimeter joint where tile meets a bathtub or sink deck, the joint where floor tile meets a baseboard, any joint where tile meets a dissimilar material.
A helpful mental test: if you can press both surfaces firmly and feel any flex or if the two surfaces are not in the same flat plane, that joint needs caulk. If the surface is a stable flat field of tiles, grout fills it.
What About the Factory Grout in a Corner?
Some tile installers initially pack corners with grout during installation to hold tiles in position, then rake it out before applying caulk once the adhesive has set. If you see what looks like grout in a corner joint, inspect it closely - if it's cracked, it may have never been replaced with caulk as it should have been. The fix is to remove the cracked material completely and apply flexible caulk in its place.
Application Tips for a Clean, Lasting Result
For grout joints, remove any loose debris or old grout with a grout saw or oscillating tool, then dampen the joint slightly before pressing in fresh grout with a rubber float held at a 45-degree angle. Work in small sections, wiping the haze off tile faces with a damp sponge before it sets hard. Allow the full cure time - typically 24 to 72 hours depending on the product - before exposing the area to water.
For caulk joints, the most important step is surface prep. The old caulk must be fully removed - a razor scraper and a plastic caulk remover tool handle most situations - and the surface must be completely dry before you apply a fresh bead. Apply steady pressure to the caulk tube and pull it along the joint in one smooth pass. Wet your fingertip or use a caulk-smoothing tool to press the bead into the joint and remove excess. Silicone caulk is more waterproof and durable in wet areas, but it requires mineral spirits for cleanup; latex-based caulk cleans up with water and is easier for beginners.
Caulk color is available in dozens of shades specifically formulated to match common grout colors, so the finished joint can blend visually with the surrounding grout lines. For a broader look at where caulk commonly fails - and what that looks like - see our article on six spots where caulk fails first.
If you find yourself working on other sealing projects around the house, our comparison of caulk versus weatherstripping for drafty gaps covers when caulk is the right tool beyond tile work.