

Key Takeaways
Why Caulk Doesn't Last Forever
Caulk is one of the hardest-working materials in any home - and one of the most overlooked. It seals the gaps between surfaces that expand, contract, get wet, and dry out on a daily basis. Over time, even quality caulk loses its flexibility, separates from surfaces, or becomes a breeding ground for mold. The result can range from an annoying draft to a slow water leak quietly rotting your subfloor.
The good news: caulk is one of the most beginner-friendly repairs you can make. A tube of sealant, a utility knife, and a caulk gun are typically all you need. But before you can fix it, you need to know where to look. Some spots in every home wear out far faster than others - because of moisture, temperature swings, or constant movement. The six locations below are where caulk almost always fails first.
Not sure whether caulk is even the right material for your gap? Our guide on choosing between caulk and weatherstripping breaks down which sealing method belongs where.
Bathtub and shower surrounds
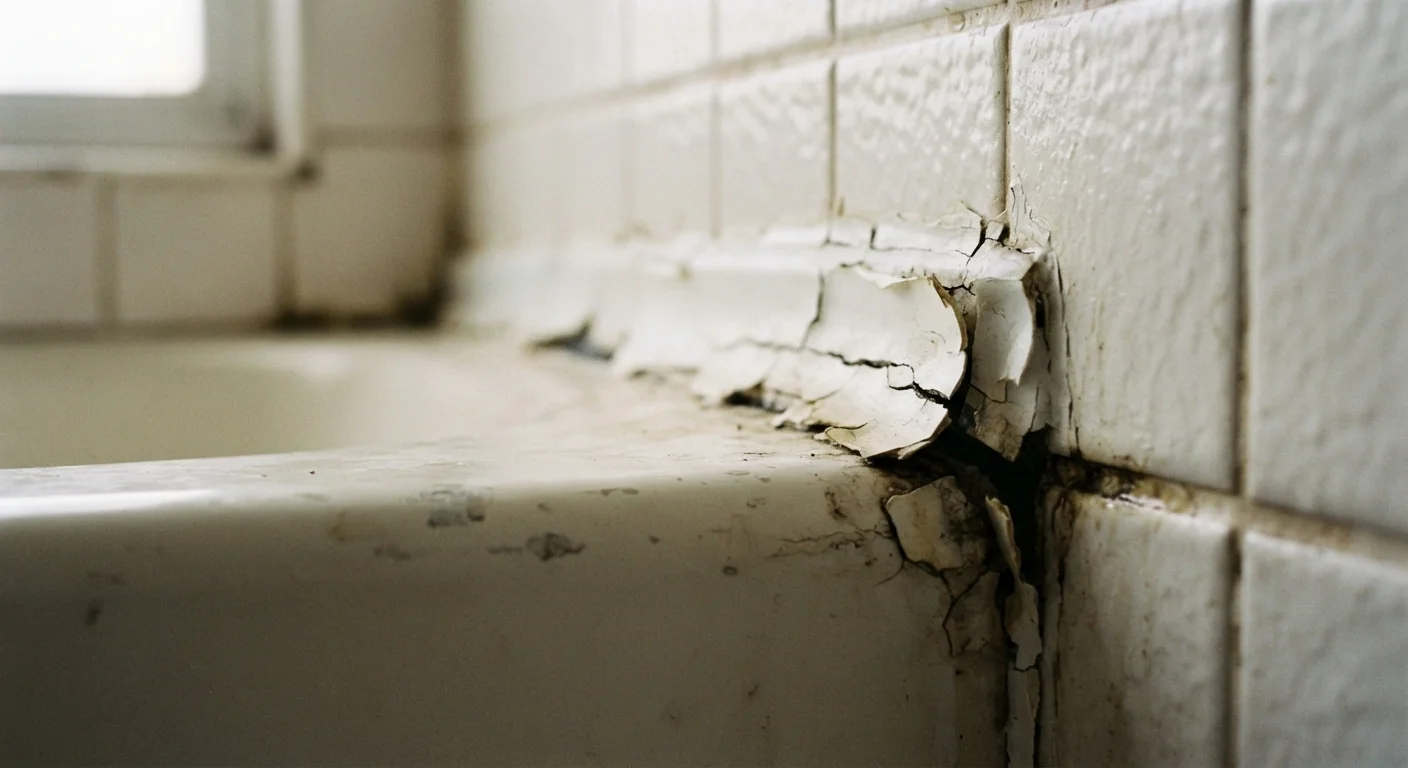
The joint where your tub or shower base meets the surrounding tile or wall panel is ground zero for caulk failure. Every time someone takes a shower, this seam expands slightly as surfaces warm up and contracts again as they cool. That thermal cycling, combined with constant moisture, makes this the highest-wear caulk location in the house.
Look for: gaps or dark lines where caulk has pulled away from the tub lip, soft or discolored caulk that flexes when you press it, and any black or gray spots indicating mold. Always use a 100% silicone or siliconized latex caulk rated for bathroom use here - standard paintable caulk will fail within months. For tile joints specifically, see our companion article on grout vs. caulk in tile joints to make sure you're using the right material in the right place.
Thermal cycling and constant moisture make tub surrounds the highest-wear caulk location in any home.
Kitchen sink perimeter
The joint running around the underside of a drop-in kitchen sink - where the sink rim meets the countertop - is exposed to water dozens of times every day. Grease, soap residue, and standing water combine to degrade caulk faster than almost anywhere else in the kitchen.
Because this joint is often horizontal and slightly hidden from view, many homeowners don't notice failure until they smell mildew or see cabinet damage beneath the sink. Check for lifting at the rim edges, discoloration, and any soft or spongy feel along the seam. Kitchen caulk should be mold-resistant and waterproof; silicone formulas hold up well in this location.
The sink-to-countertop joint is attacked by grease, soap, and standing water every single day.
Window frames on exterior walls
Exterior windows are one of the most critical caulk locations in the house, but failures here often go undetected because they develop gradually. The caulk between your window frame and the surrounding siding or trim must flex through wide seasonal temperature swings - sometimes 80°F or more between summer and winter - and resist driving rain and UV exposure at the same time.
Failed exterior window caulk allows water to infiltrate the wall cavity, which can lead to insulation damage, rot, and mold well before you see any interior signs. Look for cracking, chalking (caulk turning powdery), and gaps where the bead has separated from the frame or siding. Use an exterior-grade elastomeric or paintable acrylic latex caulk for these joints - it's designed for the temperature range and UV exposure found outdoors.
Exterior window caulk must flex through temperature swings of 80°F or more across the seasons.
Toilet base
Many homeowners don't realize there's caulk (or there should be) around the base of the toilet where it meets the floor. This joint can accumulate moisture from condensation or minor splash, and without a seal, water wicks under the base and sits against the subfloor - silently causing damage over time.
Signs of failure here include staining or discoloration around the toilet perimeter, soft flooring that feels slightly springy underfoot, or an odor near the base. One important note: do not caulk all the way around the toilet. Leave a small gap at the back so that if the wax ring fails and water leaks, it drains outward where you can see it rather than collecting underneath. If you notice any soft spots in the surrounding floor, that may be a subfloor issue worth investigating further.
Always leave a small gap at the rear of the toilet base so a wax-ring leak can drain visibly outward.
Interior trim and baseboard joints
The gap between baseboard trim and the wall, or between door/window casing and drywall, is often filled with paintable acrylic latex caulk during installation. This interior caulk isn't exposed to moisture the way bathroom caulk is, but it does experience constant movement as your home's framing expands and contracts with humidity and temperature changes.
Failed interior trim caulk shows up as visible cracks or gaps along the top edge of baseboards and the sides of door casings - especially in corners and at joints between trim pieces. While not a water-damage risk, these gaps create pathways for drafts and pests, and they make painted walls look unfinished. Paintable acrylic caulk is the right choice here and can be applied just before repainting. If your walls are showing uneven results after painting over repaired caulk, our article on fixing patchy painted walls covers the common causes.
Gaps along interior baseboards and trim are draft pathways and make freshly painted walls look unfinished.
Where walls meet the tub or shower pan in adjacent rooms
This one catches many beginners off guard. The caulk most people miss isn't in the bathroom itself - it's on the other side of the wall. In homes where a bathroom shares a wall with a bedroom or hallway, moisture can travel through a failed bathroom caulk joint and affect the adjacent surface.
Additionally, in homes with tiled showers, the inside corners of the shower enclosure - where two tiled walls meet - are frequently grouted when they should be caulked. Grout is rigid and cracks along these movement-prone corners; only flexible caulk can accommodate the slight shift that happens here. Check inside shower corners for hairline cracks in what appears to be grout, and if you find them, those joints need to be recaulked rather than re-grouted. For a full breakdown of which material belongs where in tiled surfaces, see our guide on grout vs. caulk in tile joints.
Shower inside corners should always be caulked, not grouted - rigid grout will crack under normal movement.
Staying Ahead of Caulk Failures
The best way to avoid water damage, drafts, and mold is to inspect these six spots at least once a year - ideally each fall before cold weather arrives and again each spring. Run your finger along each joint; sound, flexible caulk should feel slightly giving and remain firmly bonded to both surfaces. Anything cracked, hollow, or pulling away is overdue for replacement.
Make caulk inspection a quick habit
Keep a small flashlight handy during your annual inspection. Shining light at a low angle across caulk seams makes cracks, gaps, and lifting edges far easier to spot than looking straight on. A five-minute walk-through of the six locations above takes very little time but can prevent repairs that cost far more.
Recaulking fits naturally into a broader home maintenance routine. Our seasonal home maintenance checklist can help you build a simple, room-by-room inspection habit that catches small issues before they become expensive ones.