

Key Takeaways
Start With a Plan, Not a Power Tool
The most common beginner mistake in home improvement isn't picking the wrong tool - it's skipping the planning stage entirely. Before you purchase a single item or watch a tutorial, define your project clearly on paper.
Ask yourself three questions: What is the problem I'm solving? (A leaky faucet is different from low water pressure.) What does a finished result look like? (Sketch it, even roughly.) What is my realistic budget? Include a 15-20% buffer for unexpected costs - they almost always arise.
Once your scope is clear, create a simple materials list. Walk through the space, take measurements, and note any existing conditions that might complicate the work - old paint, uneven floors, or outdated wiring. A good plan surfaces problems before you're knee-deep in a half-finished project.
Measure Twice, Buy Once
Before purchasing any materials, measure the space at least twice and note the dimensions in writing. Returning unused materials is often possible, but some cut or mixed products - like custom-tinted paint - cannot be returned. Accurate measurements at the start prevent wasted trips and unnecessary expense.
Pair your planning habit with a maintenance routine. See our seasonal home maintenance checklist to catch small issues before they grow into expensive repairs.
Essential Tools Every Beginner Should Own
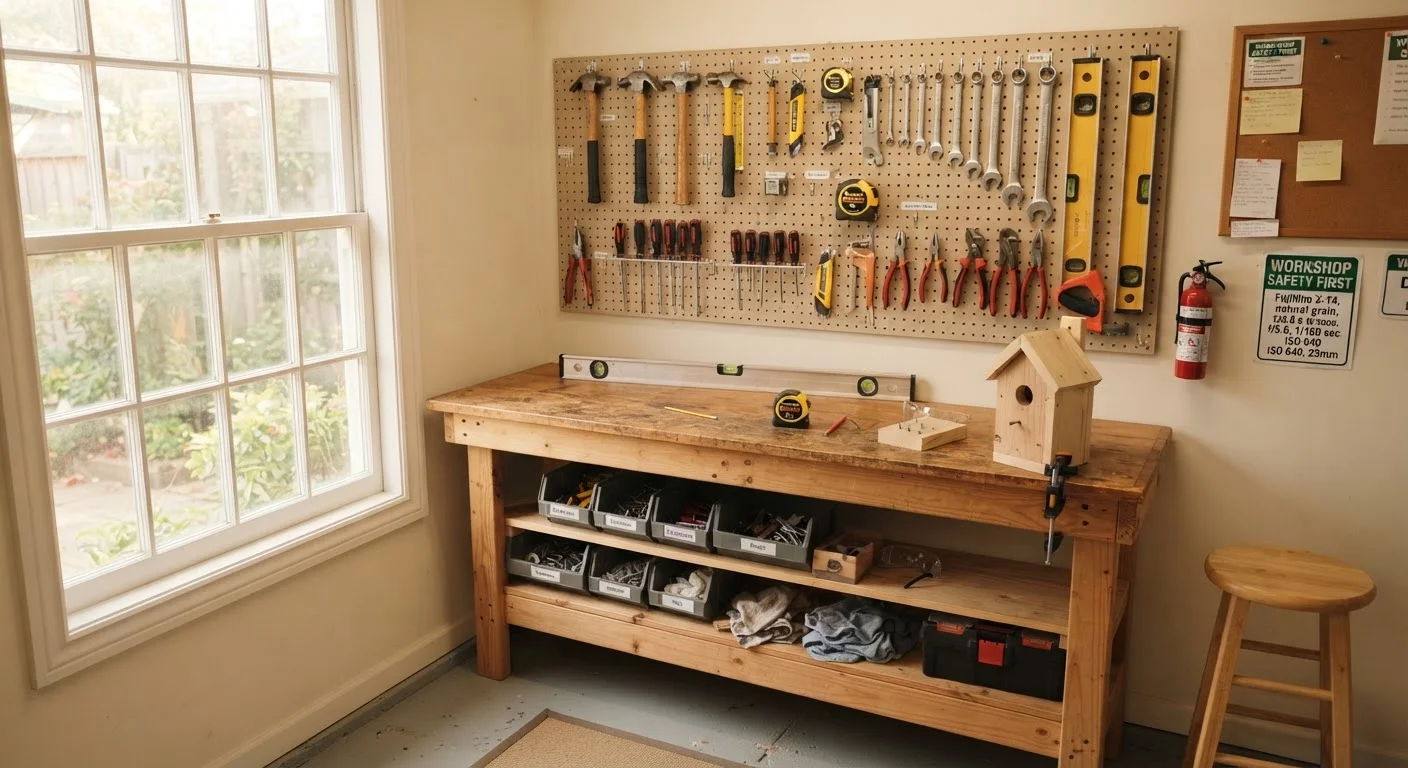
You don't need a fully stocked workshop to handle most basic repairs. A focused starter kit covers a surprisingly wide range of tasks.
- Tape measure - 25-foot length handles most room-scale measurements.
- Hammer - a 16 oz. claw hammer drives nails and pulls them out.
- Flathead and Phillips screwdrivers - multiple sizes prevent stripped screws.
- Cordless drill/driver - arguably the single most versatile beginner tool.
- Utility knife - useful for scoring, trimming, and opening materials cleanly.
- Level - a 24-inch level keeps shelves, frames, and tile straight.
- Adjustable wrench and pliers - covers most basic plumbing connections.
- Stud finder - locates wall framing before you hang anything heavy.
Quality matters more than quantity. A few well-made tools outperform a large set of flimsy ones. For a deeper look at what each tool is actually for, see our first home tool kit guide.
~35%
DIY projects that exceed initial budget
Industry surveys consistently find that cost overruns affect roughly a third of home improvement projects, most often due to skipped planning or hidden conditions.
3 of 4
US homeowners who have attempted a DIY repair
According to general consumer research, the majority of US homeowners have tried at least one do-it-yourself repair or improvement task.
Permits and Codes: What You Need to Know
Building permits exist to protect you - not to create bureaucratic hurdles. When work is inspected and approved, you have documented evidence that it meets safety standards, which matters enormously when you sell your home or file an insurance claim.
In the US, permit requirements vary by municipality, but the following project types commonly require a permit:
- Adding or moving electrical circuits or panels
- Plumbing that connects to the main supply or drain line
- Structural changes, including removing walls
- Adding square footage or converting a garage or basement
- Roofing replacements (in many jurisdictions)
- Installing a new HVAC system or water heater
Unpermitted Work Can Cost You Later
Work done without a required permit isn't just a code violation - it can void your homeowner's insurance coverage for related incidents and create serious obstacles when selling your home. Buyers' inspectors routinely flag unpermitted additions or alterations, which can delay or kill a sale. Always confirm permit requirements before breaking ground.
Always contact your local building department before starting any significant project. Requirements differ by city and county - what's permit-free in one area may require inspection in another. Skipping a required permit can result in fines, forced removal of completed work, and complications when selling your home.
Cosmetic work - painting, flooring over existing subfloor, replacing fixtures like-for-like - typically does not require a permit. When in doubt, a quick call to your local building department takes under five minutes and can save you significant trouble.
Safety Rules That Apply to Every Project
Safety practices aren't optional add-ons - they're the foundation of every task, from hanging a shelf to replacing a light switch. Follow these non-negotiables on every project:
- Wear appropriate PPE. Safety glasses protect against flying debris; work gloves guard against cuts; dust masks (rated N95 or higher) filter fine particles during cutting or sanding.
- Turn off the power. Before touching any electrical outlet, switch, or fixture, switch off the relevant breaker and use a non-contact voltage tester to confirm the circuit is dead.
- Shut off water before plumbing work. Locate your main shut-off valve before you need it - not during a leak.
- Ventilate your workspace. Paints, adhesives, and solvents release fumes. Open windows and use fans to maintain airflow.
- Read the product instructions. Drying times, mixing ratios, and application temperatures vary and affect results significantly.
- Secure your work area. Keep children and pets out of the workspace. Secure ladders on level, stable ground - never lean a ladder against a gutter.
Before drilling into any wall, use a stud finder and a wire/pipe detector together - not just one or the other. Many beginner injuries and expensive repairs come from hitting a hidden pipe or electrical cable that a single device didn't flag.
Wall interiors in US homes often contain plumbing, electrical, and HVAC runs in close proximity, particularly in bathrooms and kitchens. Using both detection tools takes under two minutes and prevents costly damage.
Take photos of every wall, floor, or ceiling cavity before you close it up. Those images become an invaluable reference if you ever need to locate a pipe or wire in the future.
Once drywall is replaced, there's no easy way to know what's behind it. A dated photo stored in a home maintenance folder has saved countless homeowners from unnecessary demolition during later repairs.
Knowing Your Limits and When to Call a Pro
One of the most valuable skills in home improvement is honest self-assessment. Some projects are genuinely beginner-friendly; others carry risks that extend well beyond a bad paint job.
Good candidates for DIY: Patching drywall, caulking, painting interior walls, replacing outlet covers, installing weatherstripping, assembling flat-pack furniture, and basic landscaping.
Projects that typically require a licensed professional: Anything involving your electrical panel, natural gas lines, load-bearing walls, roof structure, or sewer connections. These aren't arbitrary boundaries - errors in these systems can cause fire, flooding, structural failure, or carbon monoxide exposure.
A useful rule of thumb: if the work touches a system you can't see (inside walls, underground, overhead in the structure), consult a professional before proceeding. Our guide on when to DIY and when to call a pro breaks this down project by project.
The same reasoning applies beyond the home. If you've wondered about vehicle repairs, our DIY vs. mechanic guide applies the same clear-eyed framework to automotive tasks.
Starting small builds real confidence. A successfully patched wall or a freshly caulked bathtub teaches you far more than an overambitious project abandoned halfway. Work your way up gradually, and your skills - and your home - will be better for it.
This article is for general informational and educational purposes only. Always verify local building codes and permit requirements with your municipality before beginning any home improvement project. For work involving electrical, gas, structural, or plumbing systems, consult a licensed professional.