

Key Takeaways
Why Automation Changes the Saving Equation
Most people intend to save whatever is left over at the end of the month. The problem: there's rarely anything left. Spending tends to expand to fill whatever is available, so waiting to save means saving rarely happens.
Automation flips this around. Instead of saving what's left after spending, you move money into savings first - before you have a chance to spend it. Behaviorally, this matters a lot. You don't have to make a decision every month, fight the urge to skip it, or remember to log in and transfer funds. The system does it for you.
If you've ever felt like saving is just not realistic on your income, the barrier is often not the money itself - it's the friction. Automation eliminates most of that friction. For a deeper look at why saving can feel so hard in the first place, see why saving feels impossible on a tight budget.
This approach works for nearly any income level. You don't need a large paycheck or a financial background to get started. You just need a bank account, a savings destination, and about 15-30 minutes to set things up.
What you will need
How to Set Up Automatic Savings
There are two main ways to automate saving: through your employer's payroll (if that option is available) or through a recurring transfer set up directly with your bank. Either method works - the right one depends on what your employer and bank offer.
Decide how much to automate
Pick a dollar amount you're confident you can move every pay period without overdrawing your checking account. If you're starting from zero, $10-$25 per paycheck is a reasonable first target. The exact number matters less than the habit. You can always increase it later once the transfer feels invisible.
Avoid picking a round number that sounds good but strains your budget. Review your last month of spending to find an amount that leaves a small cushion in checking after the transfer clears.
Choose where the money will go
Your savings account can be at the same bank as your checking account or at a separate institution. Both options work. A separate account can make it slightly easier to leave the money alone, since it's not visible on the same screen as your spending account. Look for an account with no monthly maintenance fees and no minimum balance requirement, especially when starting out.
Be aware that some accounts have limits on the number of transfers you can make per month. Confirm this before choosing your destination account.
Set up the transfer through your bank or payroll
Option A - Through your bank: Log in to your bank's online or mobile platform. Look for a section labeled "Transfers," "Scheduled Transfers," or "Automatic Payments." Select your checking account as the source and your savings account as the destination. Enter your chosen amount, set the frequency (every two weeks or monthly are most common), and pick a start date one to two days after your next expected paycheck.
Option B - Through payroll direct deposit: Ask your HR or payroll department if you can split your direct deposit between two accounts. If your employer allows it, you can direct a fixed dollar amount straight into savings before it ever reaches your checking account. This is sometimes called "paying yourself first." Check your employee portal or ask HR for the deposit split form.
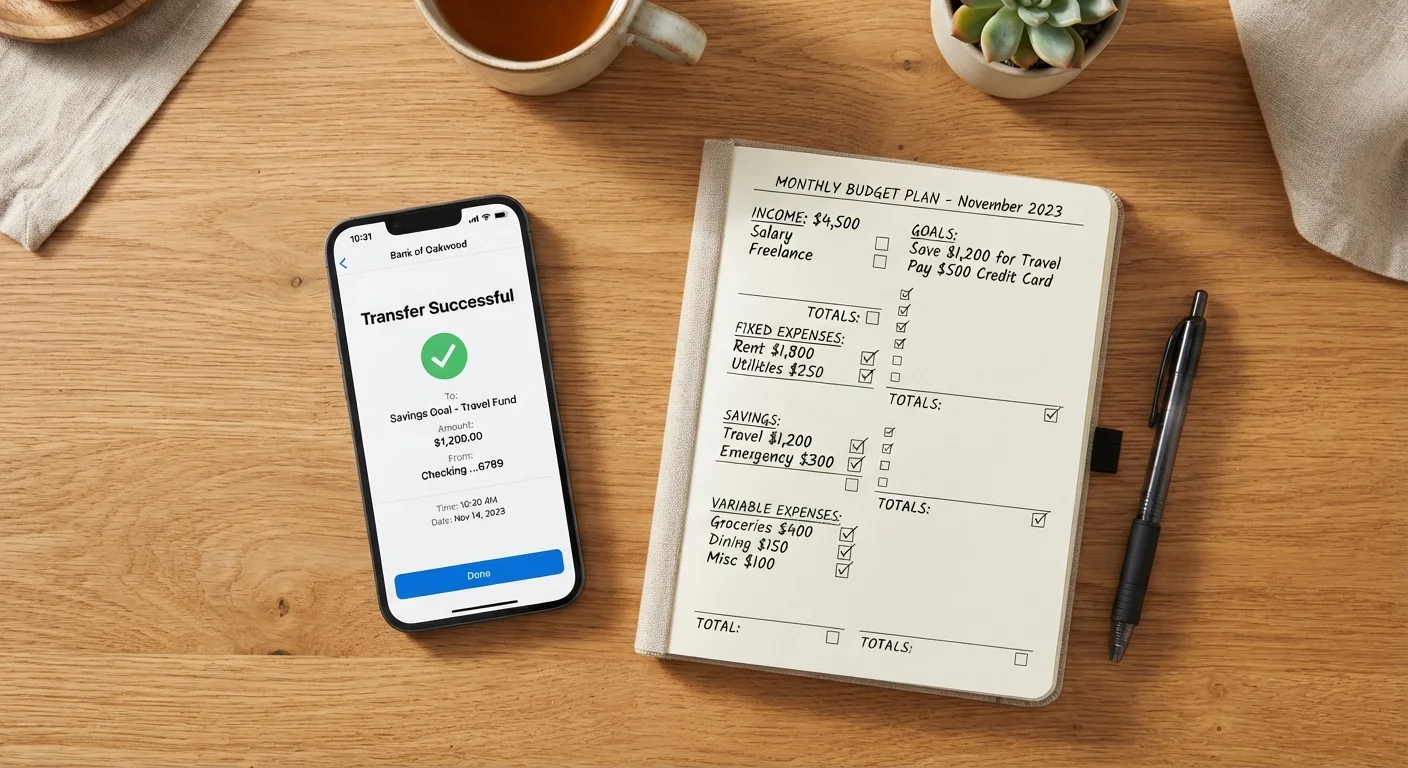
Confirm the first transfer went through
After your scheduled date passes, log in and verify the transfer completed successfully. Check that your checking account wasn't overdrawn and that the correct amount landed in savings. This is a quick step - it just confirms the setup is working as intended.
Revisit and adjust every few months
Automation doesn't mean set-and-never-touch. Every two to three months, check whether your income or expenses have changed enough to warrant a new transfer amount. If you got a raise, consider increasing your automated amount before lifestyle expenses have a chance to absorb it. If a major expense came up, temporarily lower the transfer rather than canceling it entirely.
Understanding whether you're saving toward a short-term or long-term goal can also help you decide where to keep the money growing. See short-term vs. long-term savings for guidance on matching your savings account to your goal.
Start Small, Stay Consistent
A $15 automated transfer every two weeks adds up to $390 over a year - without a single conscious decision after the initial setup. Consistency over time matters far more than the size of any individual transfer. Don't let the 'small amount' myth stop you from starting; see common savings myths for more on this.
If your income changes from month to month, fixed automatic transfers can still work - you may just want to set the amount conservatively. For more on saving with variable income, see building a savings habit when your income varies.
Common Pitfalls and How to Avoid Them
Automation is simple, but a few missteps can cause it to backfire. Overdrafts are the most common problem - if your transfer date lands before your paycheck clears, you may get hit with a fee. Always schedule your transfer one to two business days after your expected deposit date.
Watch Your Transfer Timing Carefully
Scheduling an automatic transfer before your paycheck clears is one of the most common mistakes beginners make. Overdraft fees can quickly erase the amount you were trying to save. Always set your transfer date at least one full business day after your expected deposit, and confirm your bank's processing times before finalizing the schedule.
Another mistake is setting the amount too high at the start. If your automated transfer strains your checking account, you'll cancel it - and that defeats the purpose. Think of your first amount as a starting point, not a final answer. You can always increase it later.
Finally, don't forget to check in periodically. Automation is meant to reduce effort, not eliminate all awareness. A quick monthly review of your account helps you catch errors, track progress, and adjust if your expenses change. This pairs well with a simple monthly budget - see budgeting basics for a beginner-friendly starting point.
This article is for general informational and educational purposes only. It is not personalized financial advice. Consider speaking with a qualified financial professional about decisions specific to your situation.