

Key Takeaways
Why Composting Is Worth the Effort
Composting is the process of letting organic materials - food scraps, yard waste, cardboard - break down naturally into a rich, dark material called humus (pronounced HYOO-mus). That finished product acts as a slow-release fertilizer and soil conditioner, improving drainage in clay-heavy soil and moisture retention in sandy soil at the same time.
Beyond garden benefits, composting diverts organic material from landfills, where it would otherwise decompose without oxygen and release methane, a potent greenhouse gas. For a beginner gardener, it also means a free, ongoing supply of one of the most effective soil amendments available.
The good news: composting is far more forgiving than most beginners expect. You don't need to be precise, and a few minor missteps won't ruin your batch. Think of it as a naturally occurring process you're simply managing, rather than a technical procedure you have to perfect.
What you will need
Your Tools and Materials
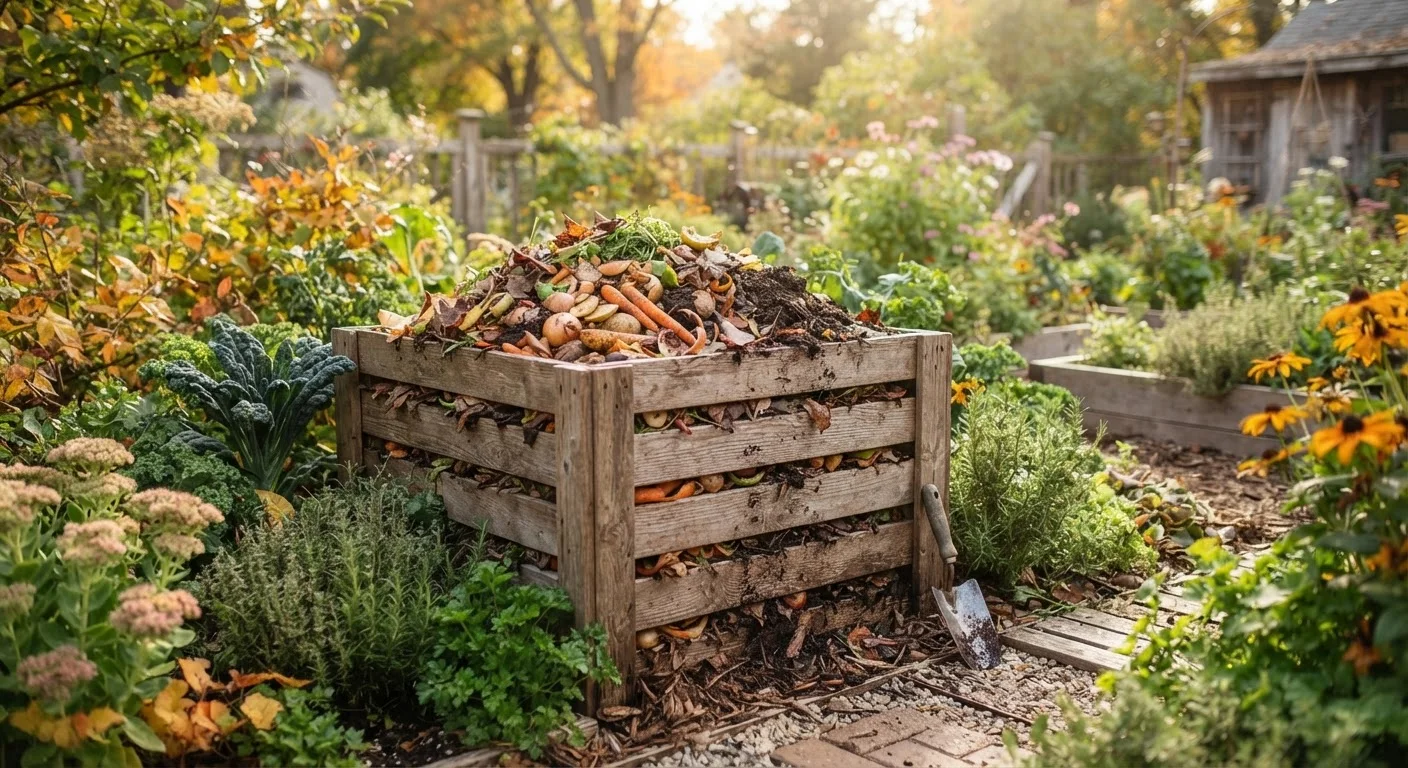
You don't need expensive equipment to get started. A basic bin - even one you build from salvaged wood pallets - works just as well as a premium tumbler for most households. The essentials are a container that allows some airflow, a tool for turning the pile, and access to both kitchen scraps and dry carbon materials.
Compost bin or tumbler
Contains your compost pile, retains heat to speed decomposition, and keeps pests out.
Small countertop collection container
Holds kitchen scraps conveniently until you're ready to transfer them to the main bin.
Garden fork or pitchfork
Used to turn and aerate the compost pile so oxygen can reach all layers.
Watering can or garden hose
Maintains the moisture level your pile needs to break down efficiently.
Compost thermometer
Measures internal pile temperature to confirm active decomposition is occurring.
Once you have your setup ready, follow the steps below. The process flows naturally once you understand the rhythm of adding, balancing, and turning.
Step-by-Step Composting Instructions
Choose your composting method
Before you collect a single scrap, decide where and how you'll compost. Outdoor bins or tumblers work well for households with a yard, while a compact worm bin (called vermicomposting) suits apartments or small spaces. A basic open-bottomed bin placed directly on soil lets worms and beneficial organisms migrate in naturally. Tumblers sit off the ground and are easier to turn, though they cost more upfront. If you're also growing in containers, see our guide to container gardening for tips on using finished compost in pots.
Gather your greens and browns
Composting works through a balance of two material types. Greens (nitrogen-rich materials) include fruit and vegetable scraps, coffee grounds, tea bags, fresh grass clippings, and plant trimmings. Browns (carbon-rich materials) include dried leaves, cardboard torn into small pieces, newspaper, paper bags, and straw. A rough ratio of 2-3 parts browns to 1 part greens by volume is a practical starting point. Too many greens without enough browns creates a slimy, smelly pile; too many browns slows decomposition to a crawl.
Know what to leave out
Certain materials belong in the trash, not the bin. Avoid adding meat, fish, bones, dairy products, greasy or oily foods, pet waste, or diseased plant material. These items can attract pests, produce unpleasant odors, or introduce pathogens. Cooked foods of any kind are best avoided in a basic outdoor pile. Treated or painted wood, glossy printed paper, and synthetic materials should also stay out. If you're reducing food waste as a broader goal, meal planning strategies can help you generate fewer scraps to begin with.
Build and layer your pile
Start with a 3-4 inch layer of coarse browns (like small twigs or straw) at the base to allow air circulation. Add a layer of greens, then another layer of browns. Continue alternating layers as you add materials over time. Chop or shred materials before adding them - smaller pieces decompose much faster because microorganisms have more surface area to work with. Aim for pieces no larger than 2 inches.
Maintain moisture and aeration
Your pile should feel as damp as a wrung-out sponge - moist throughout but not dripping. If it's too dry, decomposition stalls; if it's waterlogged, it turns anaerobic and smells bad. Check moisture weekly, especially during dry weather. Turn the pile every 1-2 weeks using a pitchfork, moving material from the outer edges into the center. This introduces oxygen, which aerobic bacteria need to break down organic matter efficiently.
Recognize and use finished compost
Compost is ready when the original materials are no longer recognizable and the pile looks, feels, and smells like dark, crumbly soil with an earthy aroma. This typically takes anywhere from 2 months to a year, depending on pile size, materials, and how often you turn it. Sift out any large unfinished chunks and toss them back in for another cycle. Use finished compost to enrich garden beds, mix into potting soil, or spread as a top dressing around existing plants. For a full guide on putting it to work in your garden, see starting a garden from scratch.
Avoid These Common Beginner Mistakes
Do not add materials like meat, fish, dairy, or oily foods to an outdoor compost pile - they attract rodents and create persistent odor problems. Also avoid adding invasive weeds or plants that have gone to seed, as a pile that hasn't reached sufficient temperature may not kill the seeds, spreading weeds throughout your garden when you apply the finished compost.
Troubleshooting Common Composting Problems
Even well-managed piles occasionally run into issues. Here's a quick reference for the most common problems beginners encounter:
- Pile isn't breaking down: It may be too dry, too dense, or lacking nitrogen-rich greens. Add moisture and a layer of fresh scraps, then turn thoroughly.
- Pile smells like rotten eggs: This signals anaerobic conditions - not enough oxygen. Turn the pile and add more dry browns to open up air pockets.
- Pests are getting in: Avoid meat and cooked foods, bury fresh scraps deeply, and consider switching to a closed bin with a secure lid.
- Pile is attracting flies: Cover fresh food additions with a layer of browns immediately after adding them.
Most problems trace back to an imbalance between greens and browns, or insufficient aeration. Adjusting those two variables solves the vast majority of composting issues.
Speed Up Decomposition Naturally
Adding a shovelful of finished compost or garden soil to a new pile introduces beneficial microorganisms that jumpstart the process. Keeping pile dimensions between 3×3×3 feet and 5×5×5 feet also helps - smaller piles don't retain heat well, and larger ones become difficult to turn and aerate properly.